
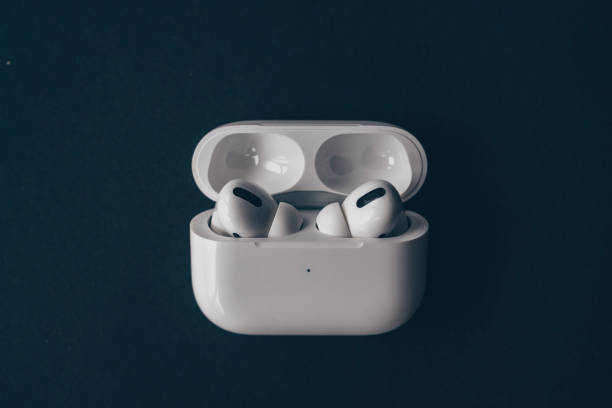
Apple’s earbuds, or AirPods, have become ubiquitous accessories for millions of iPhone users around the world. Their sleek design and wireless capabilities have made them a popular choice for listening to music, taking phone calls, and even talking to Siri. But did you know that you can also use Apple Earbuds as microphones and headphones on your PC?
As more people work remotely or attend online classes, the need for reliable and functional audio equipment has increased. Apple Earbuds can be a cost-effective option to enhance your online communication experience without breaking the bank. However, using them on a PC can be challenging for some users who are not familiar with the setup process.
To help you get the most out of your Apple Earbuds, we have created a complete guide that explains how to use them as a microphone and headphones on your PC. Our easy-to-follow instructions cover everything from connecting your Earbuds to your PC, adjusting the settings, and troubleshooting common issues.
1. Install necessary drivers and software
Before using your Apple Earbuds as both mic and headphones on your PC, it is imperative that you install the necessary drivers and software. First, you need to have the latest version of iTunes installed on your computer. If you don’t have iTunes, you can download it from the Apple website. Once iTunes is installed, plug in your Earbuds and allow your computer to recognize them. It is also important to ensure that your Earbuds are set as your default audio device in your computer’s sound settings. In addition, you may need to install additional drivers for your Earbuds to work properly. These can typically be found on the manufacturer’s website or through a simple online search. By installing the necessary drivers and software, you can ensure that your Apple Earbuds function properly as both a mic and headphones on your PC.
2. Connect the Apple earbuds to your PC
If you’re looking to use your Apple Earbuds as both a microphone and headphones when connected to your PC, you’re in luck. With a few simple steps, you can easily connect your earbuds to your computer and start using them for your desired purpose. To begin, ensure your earbuds are fully charged and that your PC has a headphone jack. Connect the earbuds to your PC using the headphone jack or a Lightning to 3.5mm headphone jack adapter for newer Apple products. Once connected, navigate to your audio settings on your PC and select your Apple Earbuds as the input and output devices. With these easy steps, you’ll be able to use your Apple Earbuds as a reliable microphone and headphones for your PC needs.
3. Configure the audio settings on your PC
One of the crucial steps in using Apple Earbuds as a mic and headphones on your PC is configuring the audio settings. To get started, first, click on the “Start” button and select “Control Panel.” From there, click on “Hardware and Sound” and then select “Sound.” In the “Playback” tab, select “Apple Earbuds” and set them as the default device for playback. In the “Recording” tab, select “Apple Earbuds” and set them as the default device for recording. Once you’ve configured these settings, you should be able to use your Apple Earbuds as both a mic and headphones on your PC. It’s important to note that depending on your PC’s operating system and audio drivers, the steps for configuring audio settings may differ slightly.
4. Set your Apple earbuds as your default audio device
Setting your Apple earbuds as your default audio device can enhance your audio experience and improve productivity while using your PC. By default, your PC will prioritize the internal speaker or another connected audio device over the earbuds, making it necessary to change the setting to ensure you get the best audio quality from your earbuds. This guide will take you through the steps to set your Apple earbuds as the default audio device on your PC. By following the steps outlined in this guide, you will have your earbuds working effectively as both a microphone and headphones on your PC.
5. Test the audio quality for both the mic and headphones
When using Apple earbuds as a mic and headphones on your PC, it is critical to test the audio quality for both inputs. Before beginning, ensure that your earbuds are properly connected and configured with your computer. Once connected, navigate to your audio settings and select the input and output devices to be your Apple earbuds. To test the microphone, open a voice recording application and speak into the microphone to ensure that your voice is being picked up clearly and without any distortion. Next, test the headphones by playing an audio file or video and ensuring that the sound quality is clear and without any buzzing or interference. This step is crucial, as poor audio quality can greatly diminish the overall experience and effectiveness of using your Apple earbuds on your PC. Take the time to troubleshoot any issues and make adjustments as needed to ensure optimal audio quality for both the mic and headphones.
In conclusion, with a little bit of effort, it is possible to use Apple Earbuds as a mic and headphones on your PC. You don’t need to spend money on a separate mic or headphones as long as you have Apple Earbuds. Following this complete guide will help you quickly set up your Earbuds on your PC and enjoy seamless audio and mic functionality. Happy chatting or gaming!